Free worksheet Generator for Teachers
In today’s digital age, teachers have access to a plethora of tools designed to enhance the educational experience and streamline the content creation process. EduCraft stands out as a dynamic worksheet generator that empowers educators to craft quizzes, puzzles, and exercises tailored to their curriculum. This guide will walk you through each step of using EduCraft, ensuring you can maximize its potential to benefit your students.
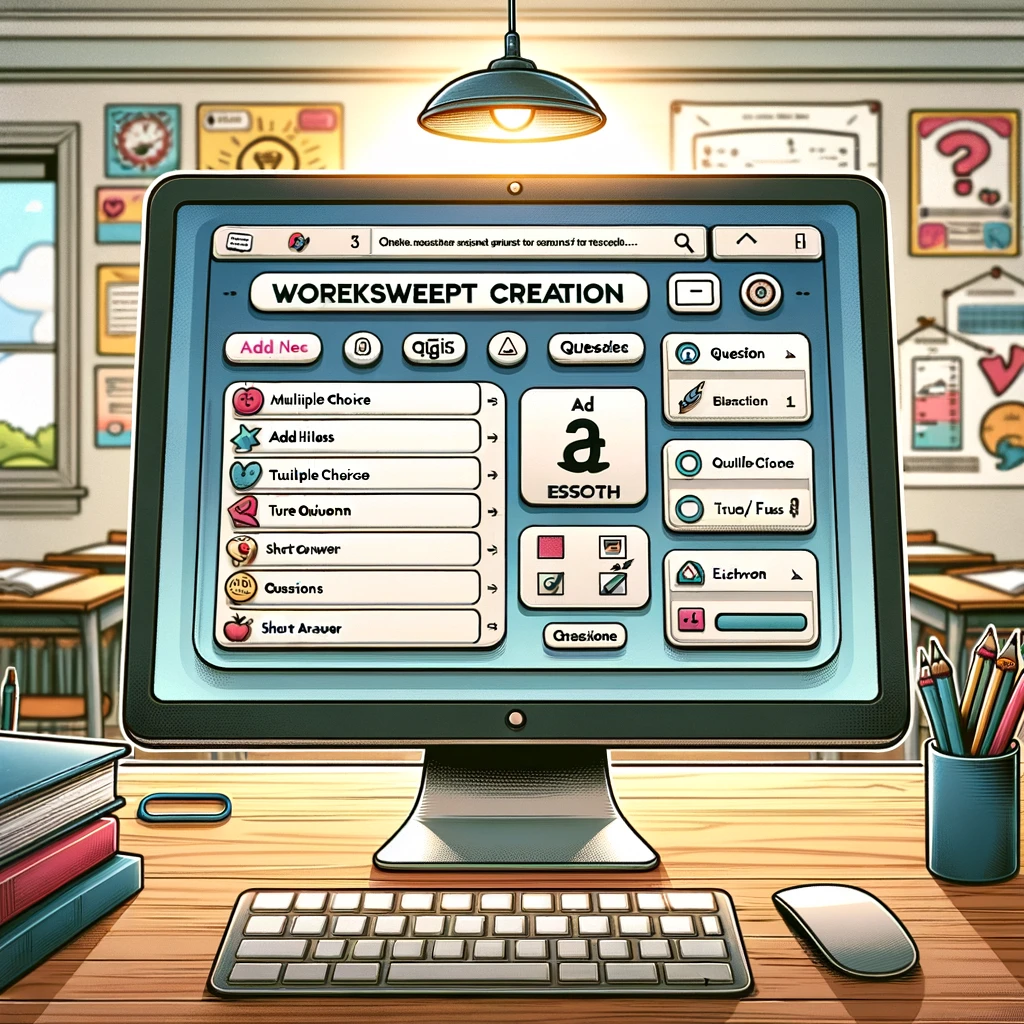
Exam Builder: Free Worksheet Generator
Watch step by step process Free worksheet generator
Step 1: Access EduCraft
Begin by navigating to the EduCraft tool on your preferred device. EduCraft’s responsive design ensures a seamless experience whether you’re using a desktop, tablet, or mobile device. This flexibility allows you to work on your educational materials from anywhere, at any time.
Step 2: Enter Your Worksheet Title
Once you’re on the EduCraft interface, start by entering a title for your worksheet in the “Worksheet Title” field. This title should reflect the content of your worksheet and can be as straightforward or creative as you prefer.
Step 3: Select the Question Type
EduCraft offers a variety of question types to suit different learning objectives, including multiple choice, true/false, and short answer. Select the question type that best matches the goals of your worksheet from the “Select Question Type” dropdown menu.
Step 4: Input Your Questions
In the “Enter Questions” area, type the questions you wish to include in your worksheet. If you’re creating a multiple-choice worksheet, you don’t need to enter the options for each question here — EduCraft will provide placeholders for them in the generated worksheet.
Step 5: Generate Your Worksheet
After entering all your questions, click the “Generate Worksheet” button. EduCraft will instantly create your custom worksheet, formatting it according to the question type and inputs you’ve provided. The generated worksheet will appear in the “Worksheet Output” section below the form.
Step 6: Review and Customize
Review the generated worksheet for any necessary adjustments. EduCraft’s initial output serves as a solid foundation, but you may wish to add specific details or instructions to align more closely with your lesson plan.
Step 7: Distribute Your Worksheet
With your worksheet ready, you can now distribute it to your students. Whether you’re printing copies for a traditional classroom setting or sharing digital files through platforms like Google Classroom or Microsoft Teams, EduCraft’s worksheets are designed to integrate smoothly with your teaching workflow.
Stay tuned for more insights and tips on navigating visit our homepage for more tools and articles.